
The most reliable, long-term method for achieving a seamless, professional result is always a full sand-down and refinish. This resets the entire surface, providing the perfect foundation for your new, superior coating. Follow these three non-negotiable steps to restore your wood floor to its best.
Sanding

Remember, sanding is everything. Your final result relies entirely on meticulous preparation, and the quality of your sanding dictates how well your lacquer or stain will absorb and adhere. Always sand with the grain and never skip grits; work from coarse through medium, finishing with at least 150 to 180 grit for clear lacquer or 120 grit if you plan to stain. An uneven scratch pattern guarantees patchy colour and shine.
Before coating, all surfaces must be grease-free and ready for the finish; so when you’ve finished sanding, have a thorough clean up, wipe the surface thoroughly with white spirit, and use a clean tack cloth to wipe the entire surface. Dust is the enemy of a smooth finish!
Staining
If you are staining, consistency is king. To prepare, stir your stain regularly to keep the pigment suspended, but do not shake the container. Apply the stain working with the grain, moving fast to keep a wet edge and treating the floor in small, manageable sections.

The most crucial step is to wipe off excess stain consistently using a uniform technique across the entire floor; failure to wipe consistently guarantees blotchy, dark patches. Our Wood Stain is touch dry in just 20 minutes, but you must allow at least 30 minutes drying time (longer in temperatures below 18°C) before sanding and overcoating with your protective finish.
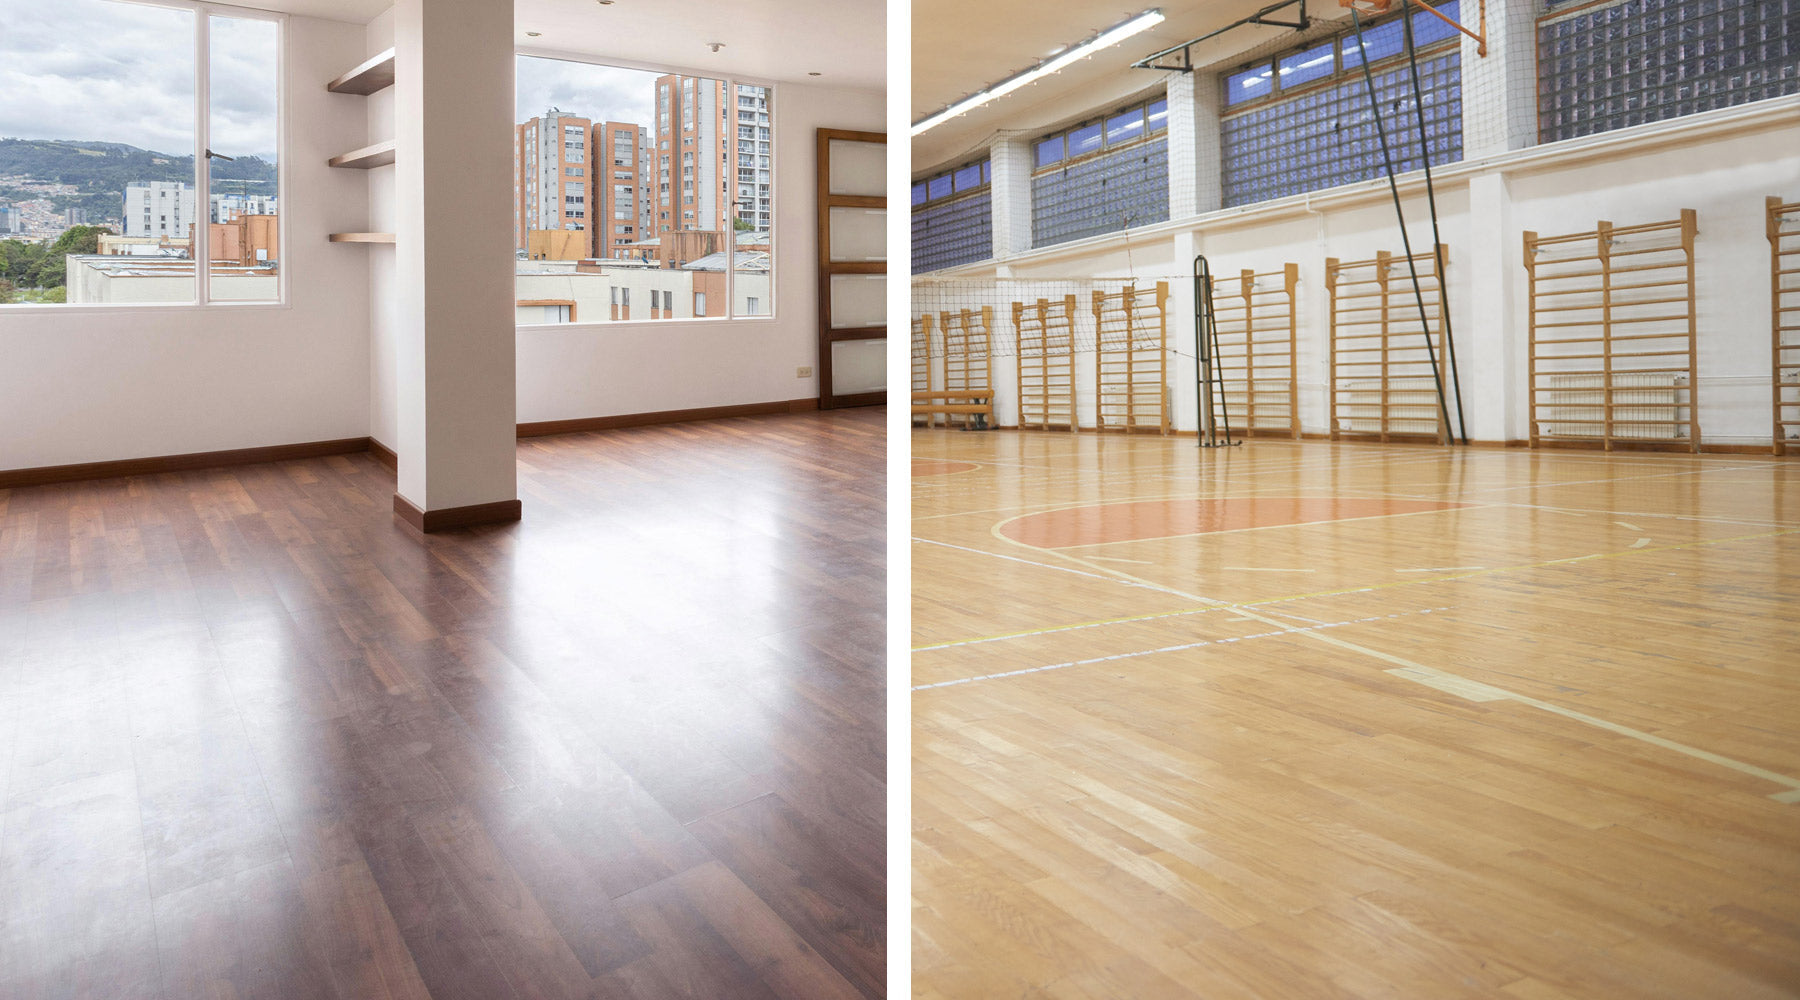
Protective coat
Choose the right finish for the job. For the DIYer, our pre-catalysed (single pack) varnishes are hard-wearing and easy to use dip-and-go formulations perfect for domestic use. If you are a trade expert dealing with high-traffic commercial environments (like gymnasium floors or pub bar tops), our two-pack acid catalysed lacquers provide the toughest scratch-resistant finish on the market.

Regardless of your choice, read the label and follow the spread rate and drying times exactly, and always use appropriate PPE when sanding and applying finishes.
Aim for multiple thin coats (two or three) rather than one heavy coat, as thin layers perform and look better, and allow at least 30 minutes drying time between coats. After the first coat is dry, use a fine abrasive pad or screen (around 220 grit) to de-nib the surface; this removes any raised grain or bubbles, keys the finish, and ensures excellent adhesion for the final coat.
Remember the finish takes a few weeks to fully cure and achieve its full durable hardness, and during this period, for cleaning, use only a soft, damp cloth or mop.